Some of the best places to farm for this school designer gear is dropped by bosses throughout Marleybone, Moo Shu and Dragonspyre, worlds long past in the Wizard101 main storyline. The gear I'm covering in this series is focused on school specific designer hoods, robes and boots. .
Gear you can subtly rock your school colors with to achieve mass appeal. Bosses a max wizard will be able to solo with ease.
Excuse me for jumping around worlds, this series is not in any particular order.
Part One in this series will cover Yakedo in Crimson Fields, Moo Shu, Oyotomi The Defiler in Village of Sorrow, Moo Shu and Spike the Crusher in Big Ben in Marleybone,
First up Yakedo, literally a must farm boss, there are a lot of different items this boss drops.
YAKEDO
Rank 7
Health: 5000
School: Fire
Location: Crimson Fields
Farming rating: 5*
 To get started, from the Jade Palace head towards Hametsu Village and use the sigils to enter Crimson Fields.
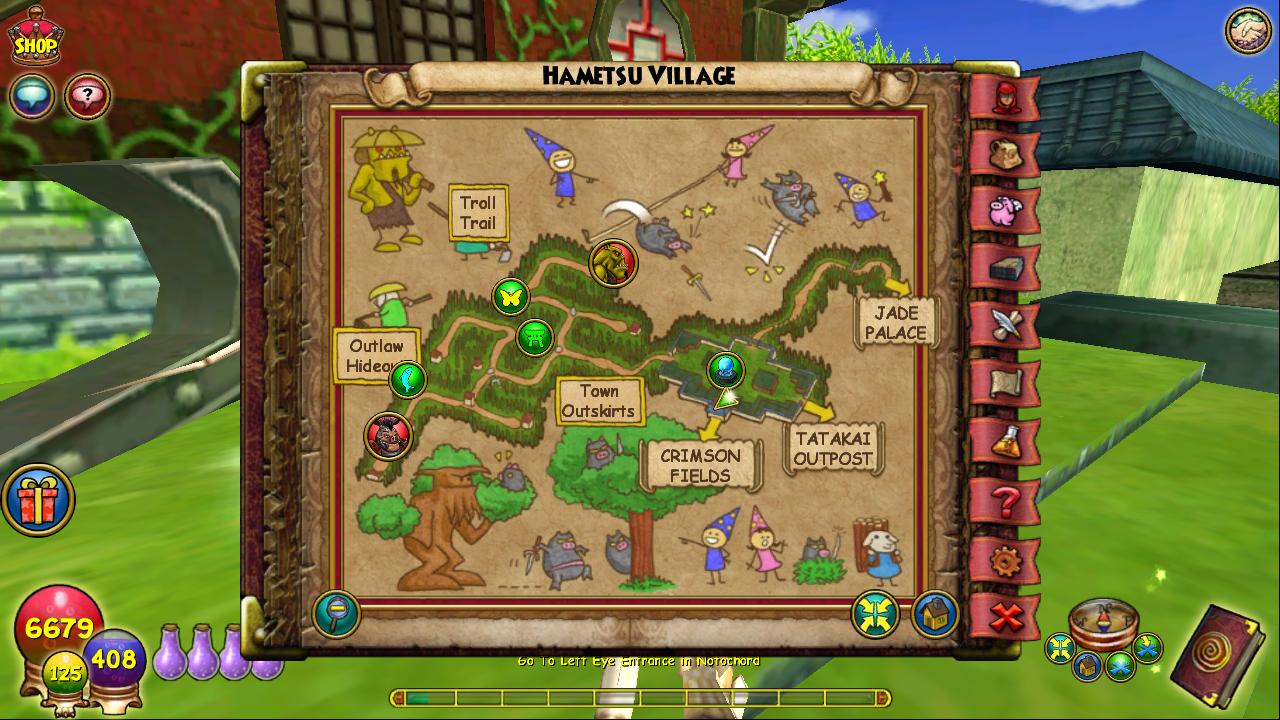
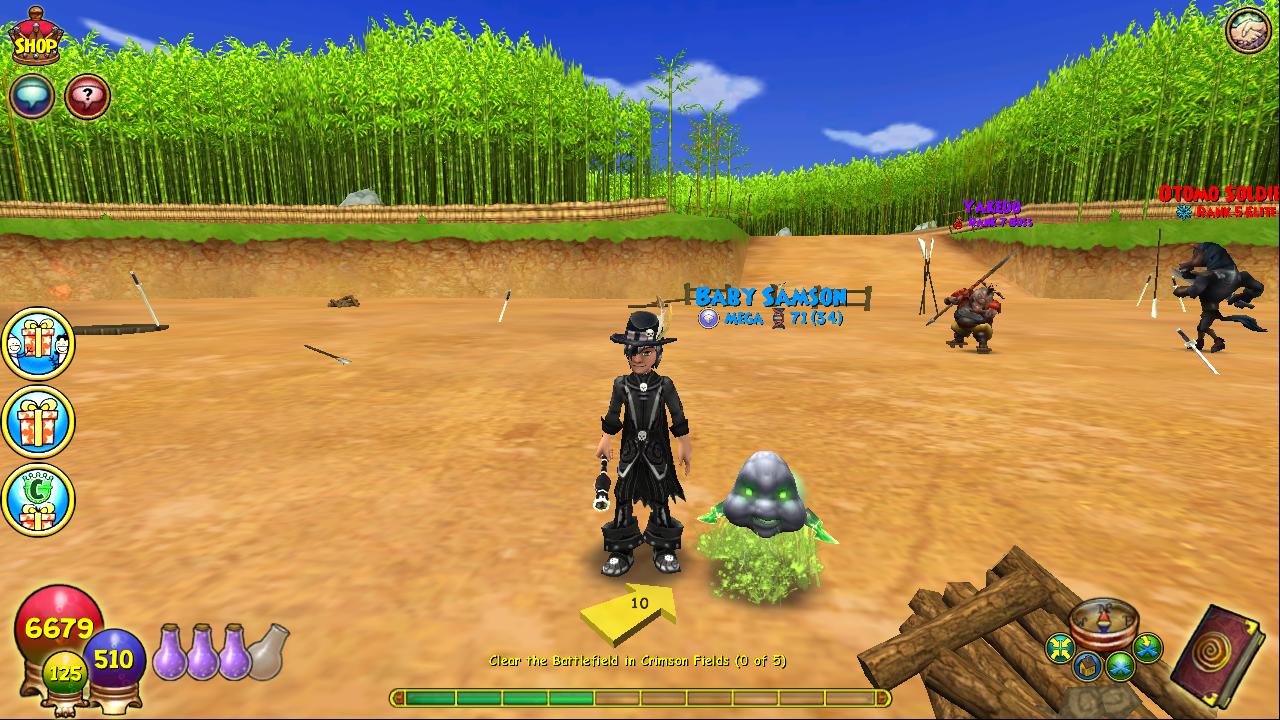
Here is the key to summoning Yakedo: Speak with Hoi Mang then enter the battlefield and raise the 4 Banners. You need to raise these banners before moving on in the dungeon otherwise Yakedo will not appear.
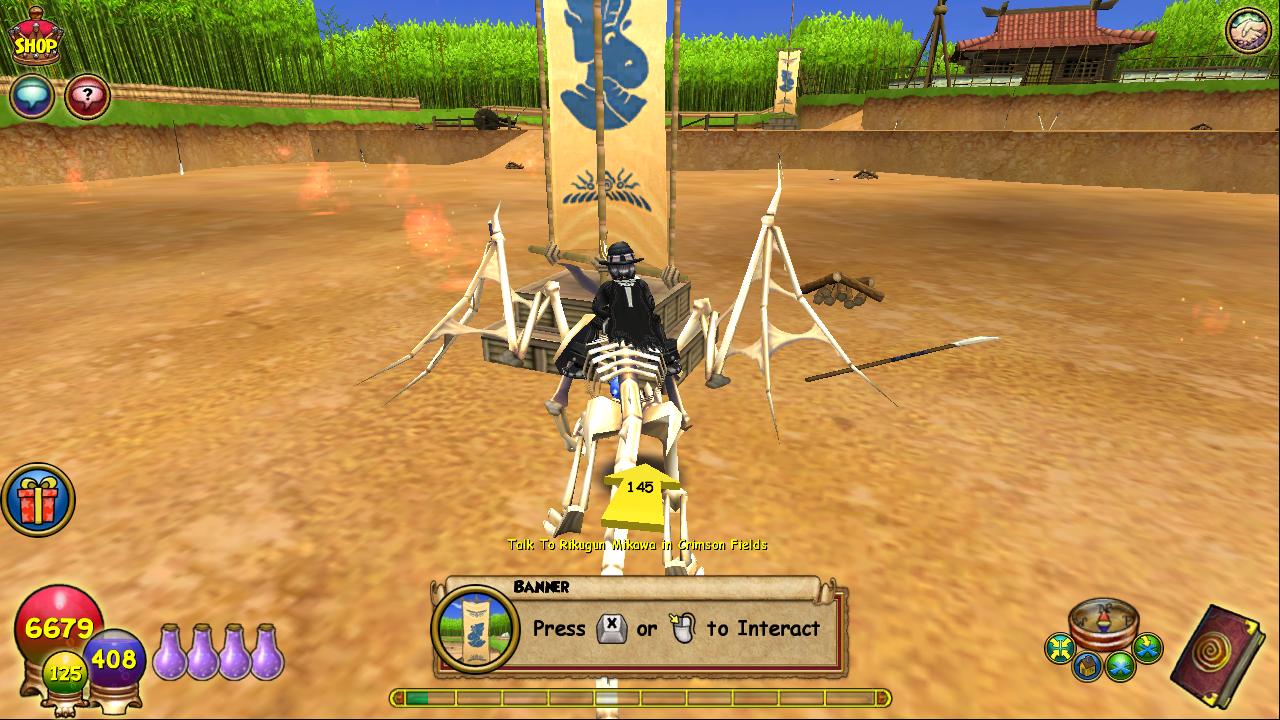
That done, continue on with the dungeon line quest. Yakedo will appear on the Battlefield when you reach the point that you need to clear the battlefield of 5 opponents.
Yakedo is a Rank 7 Boss with 5000 Health so poses not much difficulty for teams or high level solo wizards. I do not usually go any farther then the Yakedo fight since I see nothing that the last boss, the War Oni drops. I can solo this on my level 125 death in about 5 min. The drop rates in here seem above average compared with other bosses worthy of farming. With a team of 3 friends we noticed, on average, that one of us got something almost every run.
From a designer clothing perspective this boss is a gold mine of gear for every school. Just for example he drops a Myth School Hypothetical Helm & Hypothetical Robe, a Storm school Yakedo's Shroud and an Ice school Yakedo’s Rational Cloak.

Storm school: Yakedo’s Shroud

Ice school: Yakedo's Rational Cloak
You can only be so unique with the options we are given to dress our characters in but if you shop around and use your imagination you can mix sets up and come up with your own signature look.
This next boss will give you other options when it comes to signature gear. Head out to the Village of sorrow and check out
Oyotomi the Defiler
Rank 7
Health: 2300
School: Death
Location: Village of Sorrow
Farming rating: 3★
I give this character a 3 because there isn’t really that much he drops outside of the Storm Hood.

From the Jade Palace head over through the Yoshihito Temple and out to the Village of Sorrow.
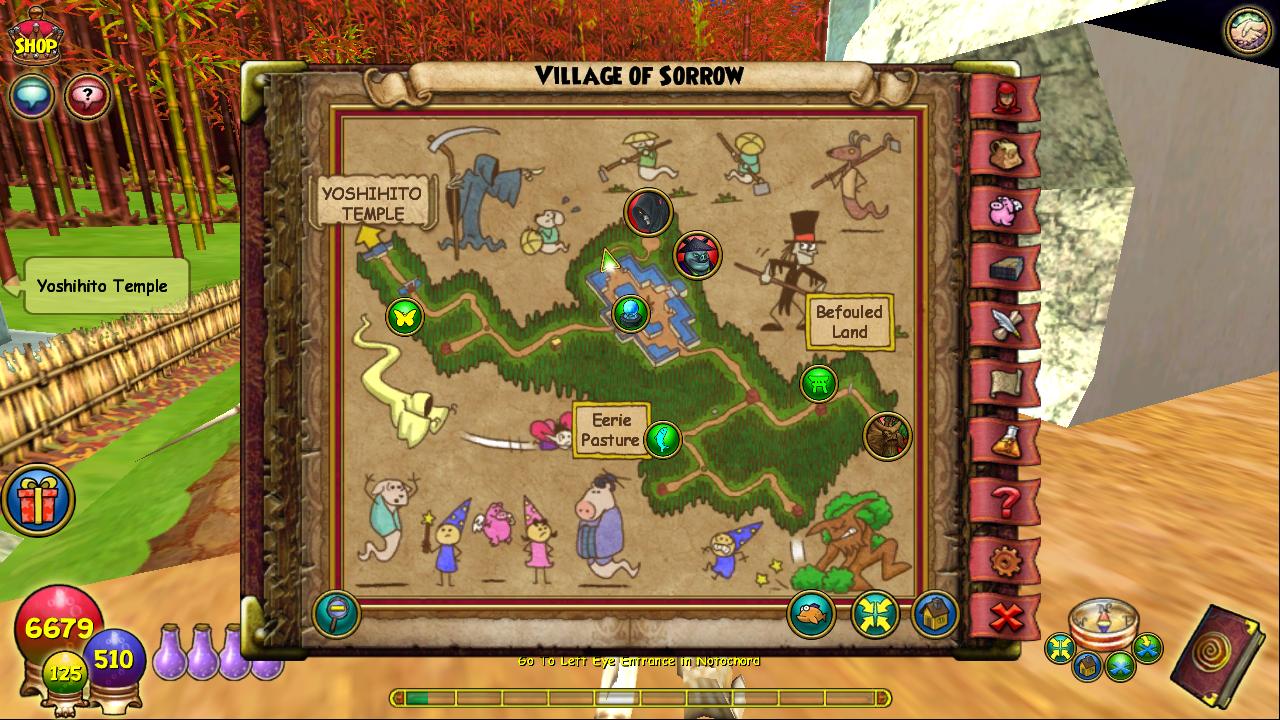
After you pass Wei Pei in the Village of Sorrow continue down the path to the right of him until you find yourself in a courtyard at which point Oyotomi the Defiler will appear. This is a simple enough Boss to fight and re summon. After you defeat him go back down the path about half way and turn around and return to the courtyard and he will re appear.
Not a lot of designer gear but he does drop the Storm school hood Oyotomi’s Cowl of Vacancy.

Oyotomi’s Cowl of Vacancy
On to the last boss for part one of this series
Spike the Crusher
Rank 7 Boss
Health: 3500
Farming rating: 5★
Drops the Death Robe, Crusher’s Deathly Robe among many other Designer Hoods, robes and boots
You encounter this Boss in the Big Ben Tower in Marleybone after you knock over the 3rd milk bottle. Make sure that you have knocked over each of the milk bottles on the way up to summon this boss. This boss drops one of my favorite all time robes, the death robe mentioned above and a lot more. Definitely worth spending some time farming.

Spike the Crusher

Crusher’s Deathly Robe
Crusher’s Deathly Robe
There’s so much more this boss drops I am still farming him so don’t be surprised if you run into me, I'm usually in Wraith Realm whatever I am doing. See you all next time when I cover more bosses in part II of this series. Until then may your dreams come true. I plan to update this post with more information on the gear that all these bosses drop as I get it. Until the next post I wish everyone a nice holiday season, enjoy whatever you do with whoever you do it will to the max!
Take care of each other we are all we have, peace!

No comments:
Post a Comment
Your comment will be posted once it is approved. Thank you for sending a comment! Have fun in the Spiral!